Install IDL VM on SLAC Public
Also see: |
Assumptions
- It is assumed that you are installing the free
IDL VM 7.1.1, or higher, in order to run rmfit
on SLAC Public.
- You have enough memory in your SLAC Public directory to download the entire IDL software package.
Note: The .tar.gz file can be deleted after a successful installation of the virtual machine.
Procedure to install IDL VM on SLAC Public
- Login to your home directory on SLAC Public.
- Issue the commands:
bash
mkdir itt
cd itt
- To download the free IDL Virtual Machine (VM) software:
- Open your browser and go to the ITT VIS website.
- Register to use the site.
- Select: Downloads --> Product Downloads
- Specifiy that you are evaluating the product.
- Download the:
- Appropriate version of IDL (e.g., idl711linux.x86.tar.gz)
- Installation instructions
- To uncompress and unpack the file (e.g., issue the command:
tar -zsvf idl711linux.x86.tar.gz)
Note: The itt directory should now contain the following:
idl71 install license idl711linux.x86.tar.gz
- To install the IDL Virtual Machine: issue the command:
./install VM
- At the following prompts, respond as indicated:
- Execute the install command now? (y/n): y
- Do you accept all of the terms of the preceding license agreement? (y/n): y
... If this installation is into a public directory,
you should login as root to do this installation.
- Do you wish to continue? (y/n): y
Response: Three ways to create symbolic links.
- Create the symbolic links described in option 1 above? (y/n): n
Symbolic links were not created.
After the installation script exits, you must follow
the instructions as described in (2) or (3) above.IDL Installation Complete
- Do you want to start the DICOM Network Services at boot time? Root permissions are required.? (y/n): n
Note: The idl subdirectory has been added to the itt directory:
idl idl71 install license idl711linux.x86.tar.gz
- Return to your home directory:
cd ~
- Set the environment variables by running the following setup script:
source /afs/slac/g/glast/users/yourDirectory/itt/idl71/bin/idl_setup.bash
Tip: It is recommended that you add these commands to the shell script that runs when you open a new terminal window (e.g., .bash_profile, bashrc, or .profile); e.g., source /afs/slac/g/glast/users/chuckp/itt/idl71/bin/idl_setup ... or /idl_setup.bash ... or /idl_setup.ksh ....
- To test the IDL setup, enter:
echo $IDL_DIR
The response should be
/afs/slac/g/glast/users/yourDirectory/itt/idl71
Then enter:
idl
The response should be:
enter:
<Ctrl-d> to exit the 7 minute idl mode; then enter:
idl -vmThe following GUI should be displayed on your local monitor:
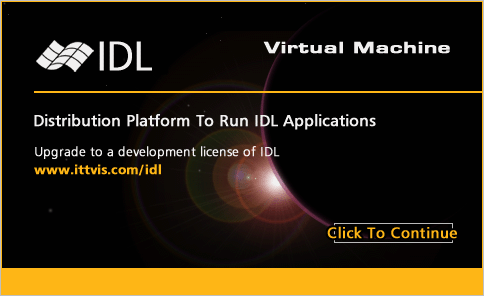
Click on the GUI to continue.
The IDL Save File GUI will be displayed:

End of IDL VM installation procedure.
| Last updated by: Chuck Patterson 11/18/2009 |